
Commercial Gym Flooring: What Every UK Gym Owner Needs to Know Before Buying
Commercial Gym Flooring: What Every UK Gym Owner Needs to Know Before Buying
Meta Description: Expert guide to commercial gym flooring in the UK. Learn about durability, fire certifications, ROI, and warranties. Make the right choice for your gym or fitness studio.
Opening a gym or refurbishing your facility? Your flooring decision will impact your business for the next decade. Choose wrong, and you'll face premature replacements, safety issues, and member complaints. Choose right, and you'll have a durable foundation that enhances member experience while protecting your investment.
This guide gives UK gym owners and PT studio operators everything you need to make an informed commercial flooring decision.
Why Commercial Gym Flooring is Different from Home Gym Flooring
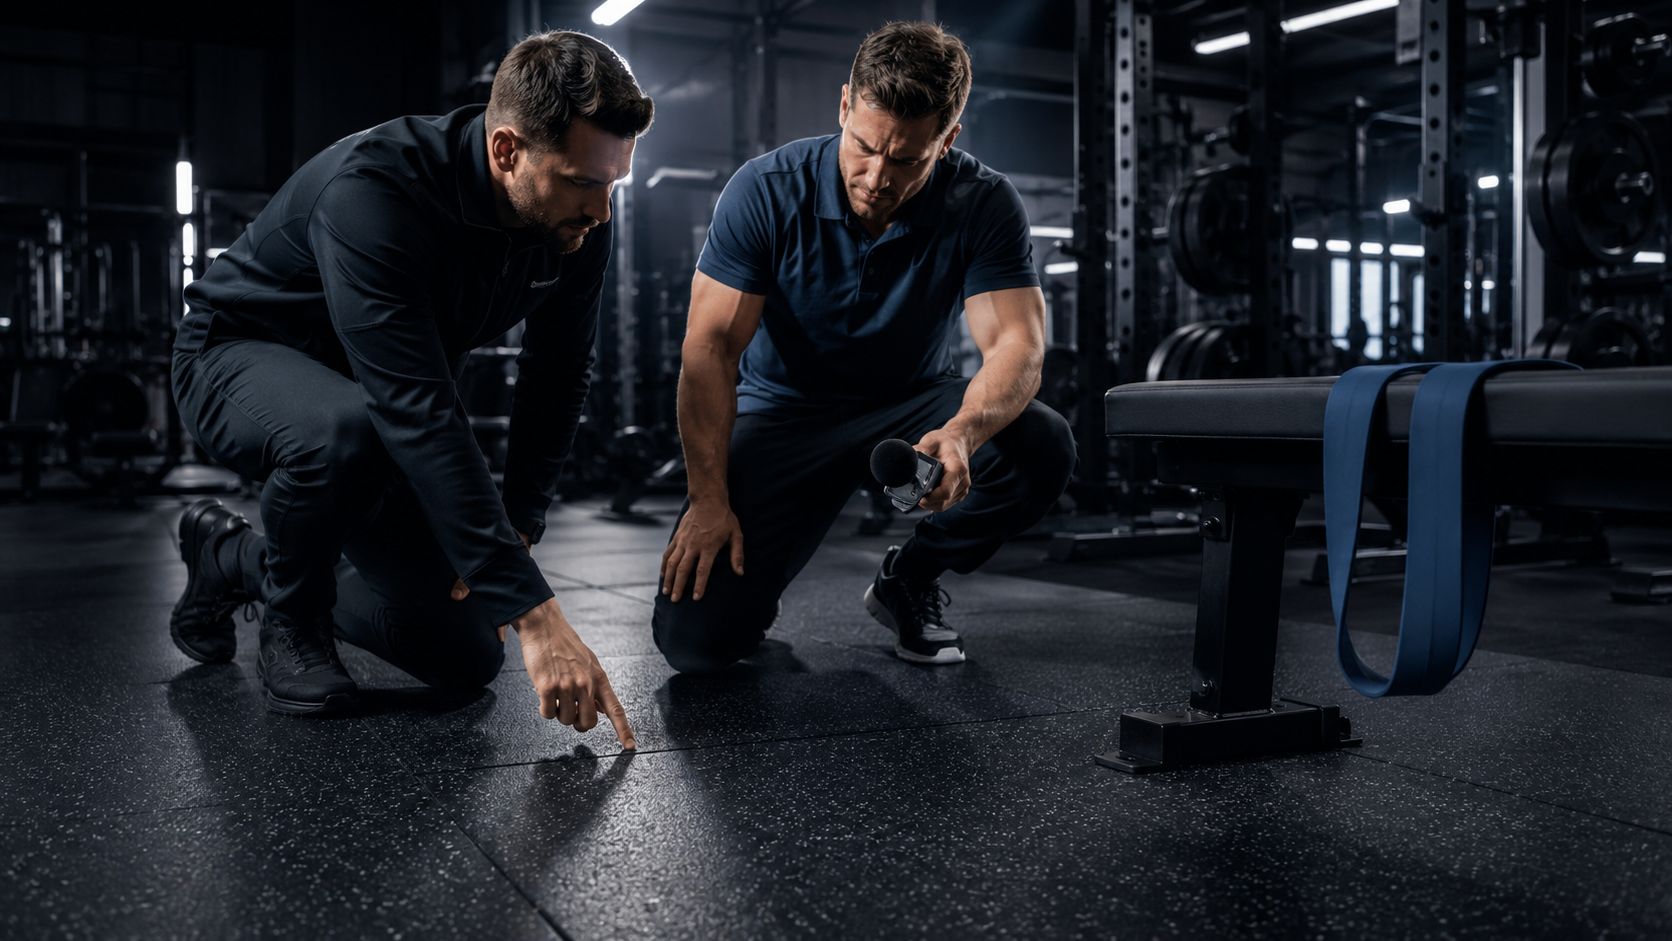
Many first-time gym owners assume all gym flooring is the same. This costly misconception leads to expensive mistakes.
The Usage Intensity Factor
A home gym typically sees 5-7 hours weekly use by one or two people with consistent training patterns—around 260-365 hours annually.
A commercial gym with just 100 members sees each square meter experience 2,000+ hours annually across hundreds of users with varying weights, training styles, and equipment handling skills.
That's not just 5-10 times more use—it's 20-30 times more intensive wear and tear.
What This Means for Your Flooring Choice
Commercial environments demand:
- Higher density materials that resist permanent compression under constant heavy use
- Superior bonding systems that maintain integrity despite traffic, cleaning, and environmental stress
- Enhanced surface durability that withstands thousands of training sessions
- Moisture and hygiene resistance with antimicrobial properties
- Proper certifications meeting UK fire safety and building regulations
Legal and Liability Considerations
Commercial facilities face obligations home gyms don't:
- Health and Safety at Work Act 1974 compliance
- Occupiers' Liability Acts responsibility
- Insurance requirements for specific flooring standards
- Fire Safety Regulations for commercial premises
Using residential-grade flooring in commercial settings can void your insurance and create significant liability exposure.
Understanding Durability Ratings and Lifespan
Commercial flooring follows EN ISO 10874 classification standards that help you identify products engineered for your specific needs.
Traffic Classification Systems
Class 33 (Heavy Commercial):
- Suitable for: Main gym floors, free weight zones, cardio areas
- Traffic capacity: 1,000+ daily passages per square meter
- Applications: Commercial gyms, fitness centers, hotel gyms
Class 34 (Very Heavy Commercial):
- Suitable for: Olympic lifting platforms, CrossFit boxes, intensive training zones
- Traffic capacity: 2,000+ daily passages per square meter
- Applications: High-volume facilities, professional training centers
For commercial gyms, choose minimum Class 33 for general areas and Class 34 for high-impact zones.
Realistic Lifespan Expectations
Economy Commercial Flooring:
- Expected lifespan: 3-5 years in moderate commercial use
- Visible wear: 18-24 months
- Common issues: Surface compression, color fading, edge lifting
- Total ownership cost: Higher due to frequent replacement
Mid-Range Commercial Flooring:
- Expected lifespan: 7-10 years
- Visible wear: 4-5 years
- Common issues: Gradual compression in highest-traffic areas
- Total ownership cost: Moderate, good balance of durability and investment
Premium Commercial Flooring:
- Expected lifespan: 12-15+ years
- Visible wear: 6-8 years
- Common issues: Minimal, primarily cosmetic
- Total ownership cost: Lowest when calculated over product lifetime
Specialist Heavy-Duty Systems:
- Expected lifespan: 15-20+ years
- Applications: Olympic lifting platforms, extreme use areas
- Total ownership cost: Excellent value for intensive applications
Factors That Affect Lifespan
Beyond product quality, several operational factors influence longevity:
Maintenance Quality: Proper cleaning and care can extend lifespan by 30-50%. Neglected flooring degrades much faster.
Equipment Selection: Quality gym equipment with proper rubber feet reduces floor wear. Equipment with metal contact points accelerates damage.
Member Education: Teaching proper weight handling (controlled lowering vs dropping) significantly impacts floor longevity.
Environmental Control: Climate-controlled facilities with stable temperature and humidity experience less material degradation.
Installation Quality: Professional installation following manufacturer specifications ensures flooring performs as designed. Poor installation can halve expected lifespan.
Fire Safety Certifications: UK Regulatory Requirements
Fire safety is non-negotiable in commercial facilities, and your flooring plays a crucial role in overall building fire performance.
Understanding UK Fire Regulations
The Regulatory Reform (Fire Safety) Order 2005 makes gym owners legally responsible for fire safety, including appropriate material selection.
Building Regulations Approved Document B sets specific requirements based on building type and usage.
Critical Fire Performance Ratings
The Euroclass System (EN 13501-1) is the standard classification for construction products in the UK and EU:
Class Bfl-s1: Very low contribution to fire, very low smoke production
- Required for: Most commercial gyms, especially in multi-occupancy buildings
- Examples: Premium virgin rubber products like Pavigym Endurance S&S, Gerflor Powershock ranges
Class Cfl-s1: Low contribution to fire, low smoke production
- Acceptable for: Many commercial applications
- Examples: Quality commercial rubber tiles like Pavigym Extreme
Class Dfl-s2: Moderate performance
- Acceptable for: Some lower-risk commercial spaces with careful specification
- Risk: May not meet all insurance requirements
Class E/F: Poor fire performance
- Generally unsuitable for commercial gyms
- Common in: Very cheap imported products, foam materials
- Risk: Regulatory non-compliance, insurance voids, serious safety hazard
Smoke Production Matters
Beyond flame spread, smoke characteristics are critical in gym environments where evacuation might involve hundreds of people:
s1 (Low smoke production): Minimal smoke, better visibility during evacuation s2 (Medium smoke): Moderate smoke production s3 (High smoke): Heavy smoke, significantly impeding evacuation
Certification Verification
Always verify fire certifications before purchasing:
- Request copies of official test certificates
- Verify testing by UKAS-accredited labs in the UK
- Check certificates cover your specific product variant
- Confirm certification is current
- Provide documentation to your fire risk assessor and insurance provider
Warning Signs:
- Supplier can't provide test certificates
- Vague claims like "fire resistant" without specific Euroclass rating
- Significantly cheaper products claiming same ratings as premium options
- Test certificates from unknown or non-accredited facilities
Insurance Implications
Most commercial gym insurance policies require:
- Minimum fire performance ratings (typically Cfl-s1 or better)
- Documented evidence of compliance
- Professional installation to manufacturer specifications
- Regular maintenance and inspection records
Failing to meet these requirements can void your coverage entirely, leaving you personally liable in the event of a fire-related incident.
The True Cost: Maintenance and Long-Term Value
The purchase price represents just one component of total ownership cost. Understanding long-term value is essential for smart decision-making.
Maintenance Requirements
Economy Commercial Flooring:
- More intensive daily and weekly cleaning required
- Porous surfaces harbor bacteria, requiring more aggressive sanitization
- Frequent repairs and partial replacements in high-traffic areas
- Higher staff time commitment for maintenance
Premium Commercial Flooring:
- Simpler daily maintenance routines
- Non-porous surfaces resist bacteria and are easier to sanitize
- Minimal repair requirements
- Lower staff time investment
- Professional deep cleaning less frequently needed
The True Cost Over Time
While premium flooring requires higher initial investment, the mathematics over 10-12 years consistently favor quality:
Economy Approach Reality:
- Multiple full replacements during typical gym lifespan
- Constant repairs and partial section replacements
- Higher ongoing maintenance costs
- Revenue loss during multiple installation periods
- Member complaints and potential attrition
Premium Approach Reality:
- Single installation lasting 12-15+ years
- Minimal repair requirements
- Lower maintenance costs
- Zero replacement downtime
- Enhanced member satisfaction and retention
The difference: Premium flooring often costs 50-60% less over a decade despite higher upfront investment, while delivering superior performance throughout.
Hidden Costs to Consider
Downtime Impact: Every day your gym is closed for flooring repairs or replacement represents lost revenue and member inconvenience.
Member Experience: Quality flooring contributes to perceived facility value, safety confidence, and overall satisfaction—directly impacting retention.
Staff Efficiency: Premium flooring requires significantly less cleaning and maintenance time, freeing staff for member service.
Insurance and Liability: Proper commercial flooring with appropriate certifications protects against claims and maintains coverage validity.
Competitive Positioning: Professional-quality flooring enables premium pricing and attracts quality-focused members.
Installation Downtime: Planning for Minimal Disruption
Installation timing and approach significantly impact your business operations.
Typical Installation Timelines
A complete commercial gym floor installation typically requires:
- Surface preparation: 2-3 days
- Material acclimation: 1-2 days
- Installation: 3-5 days depending on size and complexity
- Curing and settling: 1-2 days
- Equipment replacement: 1 day
Total: 8-13 days for most facilities
Strategic Timing
Best Periods for Installation:
✅ Late January: Post-New Year rush, members more established ✅ June-July: Summer holiday period with lower attendance ✅ Late August: Pre-autumn transition period
❌ Avoid: January 1-15 (peak new members), September-November (high attendance), December (year-end retention focus)
Minimizing Impact
Phased Installation: Install in sections, maintaining 60-70% operational capacity Extended Hours: Installation during evenings/weekends to reduce closure time Member Communication: Proactive updates via email, social media, and in-person create understanding Temporary Arrangements: Partner with nearby facilities for temporary member access
Warranty Coverage: Understanding What's Protected
Warranties provide crucial investment protection, but coverage varies dramatically.
Warranty Duration by Quality Tier
Economy Products: 1-2 years, covering major manufacturing defects only Mid-Range Products: 3-5 years, good coverage for material failures Premium Products: 5-10 years, comprehensive defect protection Specialist Systems: 10-15+ years, extensive coverage
What's Typically Covered
- Manufacturing defects and material failures
- Premature compression beyond specifications
- Structural failure of interlocking systems
- Failure to meet stated performance ratings
- Delamination or material separation
What's Typically NOT Covered
- Damage from improper installation
- Issues from inadequate maintenance
- Staining from unapproved cleaning products
- Impact damage beyond rated capacity
- Normal wear and tear from proper use
- Environmental damage (flooding, extreme temperatures)
Successfully Making Claims
To protect your warranty rights:
- Maintain proof of purchase from authorized dealers
- Use professional installation following manufacturer specs
- Keep detailed maintenance records
- Document any issues with photographs immediately
- File claims promptly within warranty periods
- Register products when required
Working with authorized distributors like The Gym Floor Store ensures you have proper documentation and support throughout the warranty period.
Real-World Lessons: What Experience Teaches
The False Economy Story
A budget-focused gym owner in Leeds initially chose economy flooring to minimize startup costs. The decision seemed financially prudent.
Within 18 months, tiles began separating in high-traffic areas. By year two, significant compression in the free weight zone created safety concerns. Year three brought insurance complications when the facility couldn't provide proper fire certifications.
The owner ultimately replaced the entire floor with Pavigym Extreme, experiencing:
- Ten days of lost revenue during replacement
- Additional installation costs
- Member inconvenience and complaints
- Damaged reputation from initial cheap appearance
Total cost over three years significantly exceeded what premium flooring would have cost initially, while delivering inferior performance during that entire period.
The owner's reflection: "Trying to save money upfront cost far more in total expenses, stress, and reputation. The quality flooring we have now is what we should have installed on day one."
Success Stories
Premium Investment Results: Facilities investing in Pavigym Endurance or Gerflor Powershock systems consistently report:
- Zero replacement needs after 6-8+ years
- Minimal maintenance requirements
- Member compliments on floor quality and safety
- Justification for premium membership pricing
- Significantly lower total ownership costs
Strategic Zoning Success: Gyms using premium flooring in high-impact areas while selecting mid-range options for lower-stress zones achieve excellent value balance without compromising performance where it matters most.
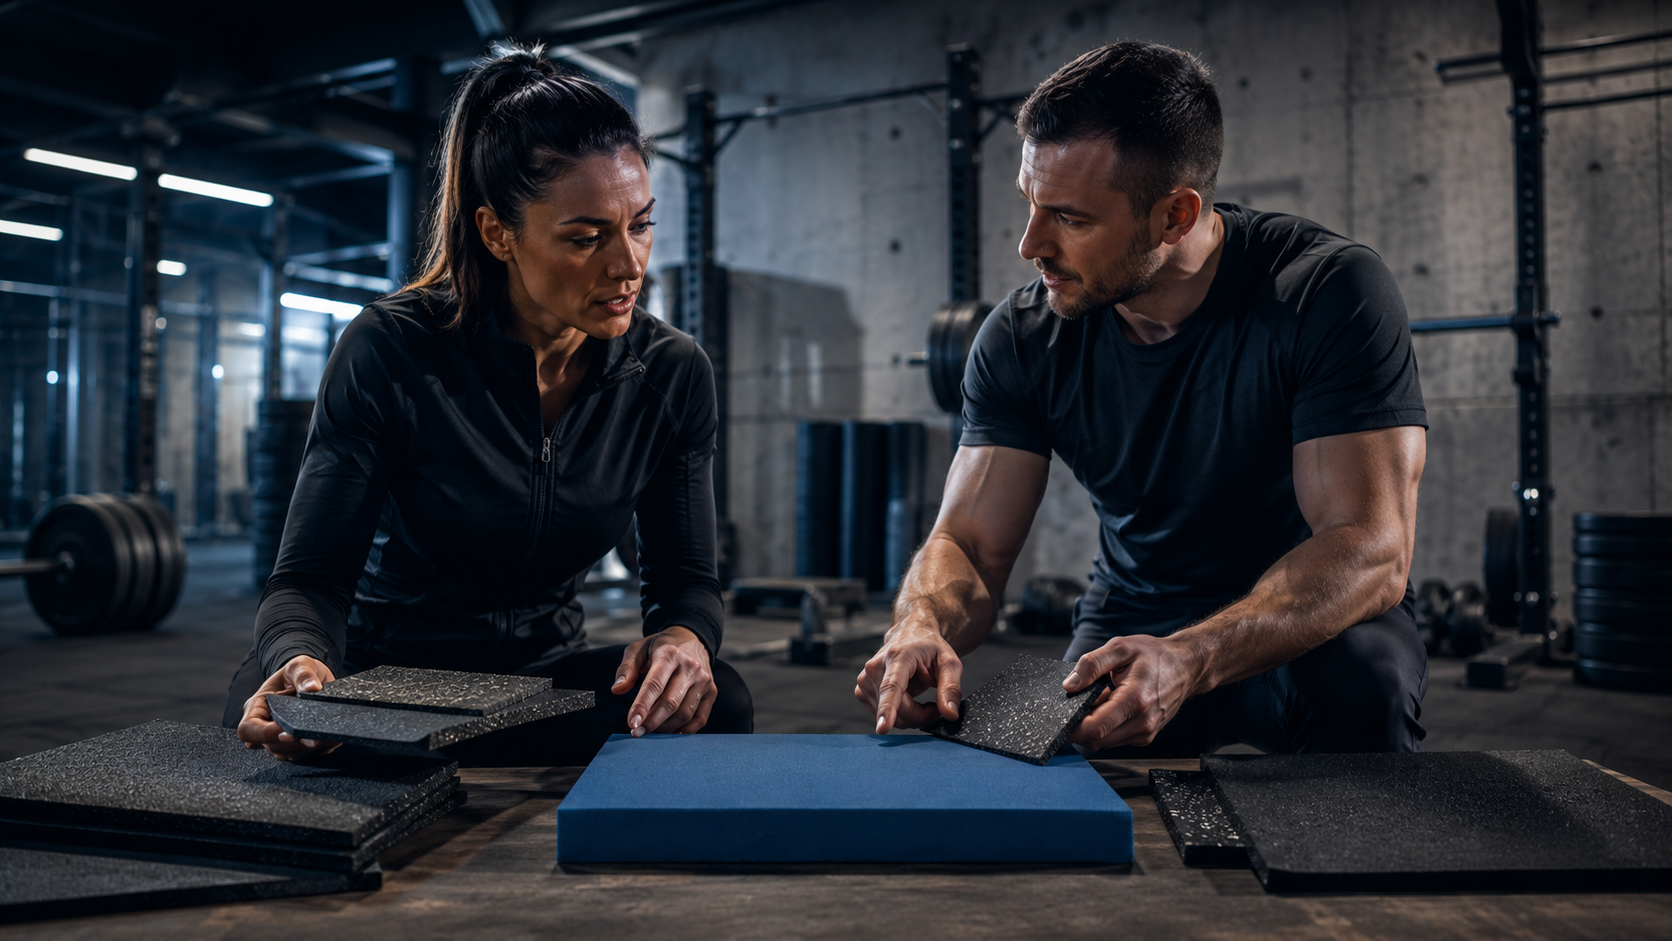
Product Recommendations by Facility Type
High-Volume Commercial Gyms (300+ Members)
Optimal Choice: Pavigym Endurance Range
- Virgin rubber construction for maximum durability
- Class 34 traffic rating for intensive use
- Bfl-s1 fire rating for insurance compliance
- 5-year manufacturer warranty
- 12-15 year expected lifespan
Cost-Effective Alternative: Gerflor Powershock 80
- Proven commercial performance
- Excellent impact absorption
- Suitable for large areas requiring reliable durability
CrossFit Boxes and Functional Training Studios
Essential for Drop Zones: Pavigym Extreme S&S 22mm
- Engineered specifically for repeated barbell drops
- Superior shock and sound absorption
- Handles Olympic lifting demands
- Critical for protecting subfloor integrity
For Sled and Sprint Work: Pavigym Turf
- Purpose-built for functional training
- Excellent grip and durability for sled pushing
- Professional appearance members expect
Boutique Studios and Small Group Training
Ideal for HIIT and Functional Work: Pavigym Motion 9mm
- Perfect for high-intensity interval training
- Comfortable for barefoot work and agility movements
- Smooth surface for varied programming
- Professional aesthetics for social media appeal
For Cardio-Focused Programming: Pavigym Performance+ 5mm
- Lower profile ideal for studio environments
- Excellent for cycling and cardio zones
- Easy maintenance for busy class schedules
Personal Training Studios
Professional Mid-Range Option: GFS Connect Tiles
- Appropriate durability for lower daily volume
- Professional appearance supporting premium rates
- Good performance at accessible investment level
- DIY-friendly if needed to control costs
Premium Positioning: Pavigym Endurance 7mm
- Enhanced member experience justifying premium PT pricing
- Exceptional longevity for long-term studio success
Specialist Facilities (Powerlifting, Olympic Lifting, Strongman)
Non-Negotiable for Heavy Lifting: Pavigym Extreme S&S 22mm or Pavigym Endurance S&S 22mm
- Maximum impact protection for 150kg+ lifts
- Essential for protecting subfloor from extreme forces
- Purpose-engineered for specialist training demands
Making Your Decision: Strategic Process
Step 1: Define Your Requirements
Usage Profile:
- Current and projected member count
- Primary training modalities
- Typical weight loads and drop frequency
- Operating hours and traffic patterns
Space Characteristics:
- Total area requiring flooring
- Potential for zone-based approach
- Subfloor condition and type
- Environmental factors
Compliance Needs:
- Building regulations and fire safety requirements
- Insurance policy specifications
- Local authority requirements
Step 2: Understand Your Investment Framework
Consider total cost of ownership over 10-12 years rather than just initial outlay. Factor in:
- Expected product lifespan
- Maintenance requirements and costs
- Potential replacement frequency
- Installation and downtime impact
- Insurance and liability protection
- Member experience and retention value
Step 3: Zone Your Space Strategically
Not every area requires the same flooring specification:
High-Impact Zones (Free Weights, Olympic lifting): Premium 20-25mm shock-absorbing systems Moderate-Impact Areas (Cardio, functional training): Quality 7-15mm commercial tiles Low-Impact Spaces (Studios, group exercise): Comfortable 5-9mm surfaces Non-Training Areas (Reception, circulation): Aesthetic-focused, easy-clean options
This approach optimizes investment while ensuring performance where it matters most.
Step 4: Verify Supplier Credentials
Essential Questions:
- Are you an authorized distributor of these brands?
- Can you provide fire safety certificates for each product?
- What warranty support do you offer?
- Do you provide or recommend professional installation?
- Can you share references from similar facilities?
- What maintenance protocols do you recommend?
- How do warranty claims work?
Red Flags to Avoid:
- Cannot provide proper certifications
- No verifiable references or case studies
- Vague warranty terms without specifics
- Pressure tactics for immediate purchase
- Prices dramatically below market indicating questionable quality
Step 5: Plan Installation Professionally
Professional Installation Benefits:
- Proper subfloor preparation ensuring longevity
- Manufacturer warranty compliance
- Professional tools and techniques
- Installation warranty protection
- Faster, more efficient completion
- Expert problem-solving for challenges
When DIY Might Work:
- Very small facilities under 100m²
- Interlocking tile systems designed for simplified installation
- Owner has relevant renovation experience
- Budget absolutely requires minimizing costs
For most commercial installations, professional fitting protects your investment.
Step 6: Implement with Member Focus
Pre-Installation (4-6 weeks):
- Multi-channel member notification
- Clear FAQ addressing concerns
- Timeline transparency
- Alternative training options if possible
During Installation:
- Daily progress updates via social media
- Ongoing member communication
- Photo documentation of transformation
- Responsive to questions and concerns
Post-Installation:
- Grand re-opening event
- Member orientation to new surface
- Feedback collection
- Showcase transformation on social media
Why Choose The Gym Floor Store for Your Commercial Project
20+ Years of Industry Expertise: We understand UK gym environments, building regulations, and business operations. Our experience helps you avoid costly mistakes and choose solutions that work long-term.
Approved UK Distributor of Pavigym: As an official Pavigym distributor, we provide genuine products with full manufacturer warranties and support. You're protected by established European quality standards.
Comprehensive Brand Portfolio: We stock Pavigym, Pavibasic, Gerflor, and our own GFS range—giving you options across all price points and applications without compromising on quality.
Expert Guidance, Not Just Sales: Our team helps you choose the right solution for your specific needs and budget. We succeed when your flooring performs excellently for years, not just when we complete a sale.
Complete Documentation Support: All products come with proper fire safety certifications, technical specifications, and warranty documentation—everything you need for insurance, building control, and peace of mind.
UK-Wide Delivery: We understand installation timelines are critical. Our logistics ensure materials arrive when and where you need them across the United Kingdom.
Long-Term Partnership: Questions about maintenance? Need advice on a specific issue? Our team remains available to support you throughout your flooring's entire lifespan.
Your Next Steps
Commercial gym flooring isn't just about covering floors—it's about protecting your investment, ensuring member safety, and building a foundation for business success.
Essential Takeaways:
✓ Choose commercial-grade products with proper traffic ratings and certifications ✓ Fire safety compliance is non-negotiable for insurance and legal protection ✓ Calculate total ownership cost over 10+ years, not just initial price ✓ Professional installation protects warranty and ensures proper performance ✓ Zone-based approaches optimize investment across different use areas ✓ Work with authorized distributors for documentation and long-term support
Don't let inadequate flooring become your gym's weakness. Invest strategically now to avoid expensive problems later.
Ready to choose the right commercial gym flooring?
Explore our complete commercial gym flooring range, or contact our expert team for a personalized consultation based on your specific facility requirements.
We're here to help you build the foundation for your gym's success.
Last updated: February 2026
The Gym Flooring Hub