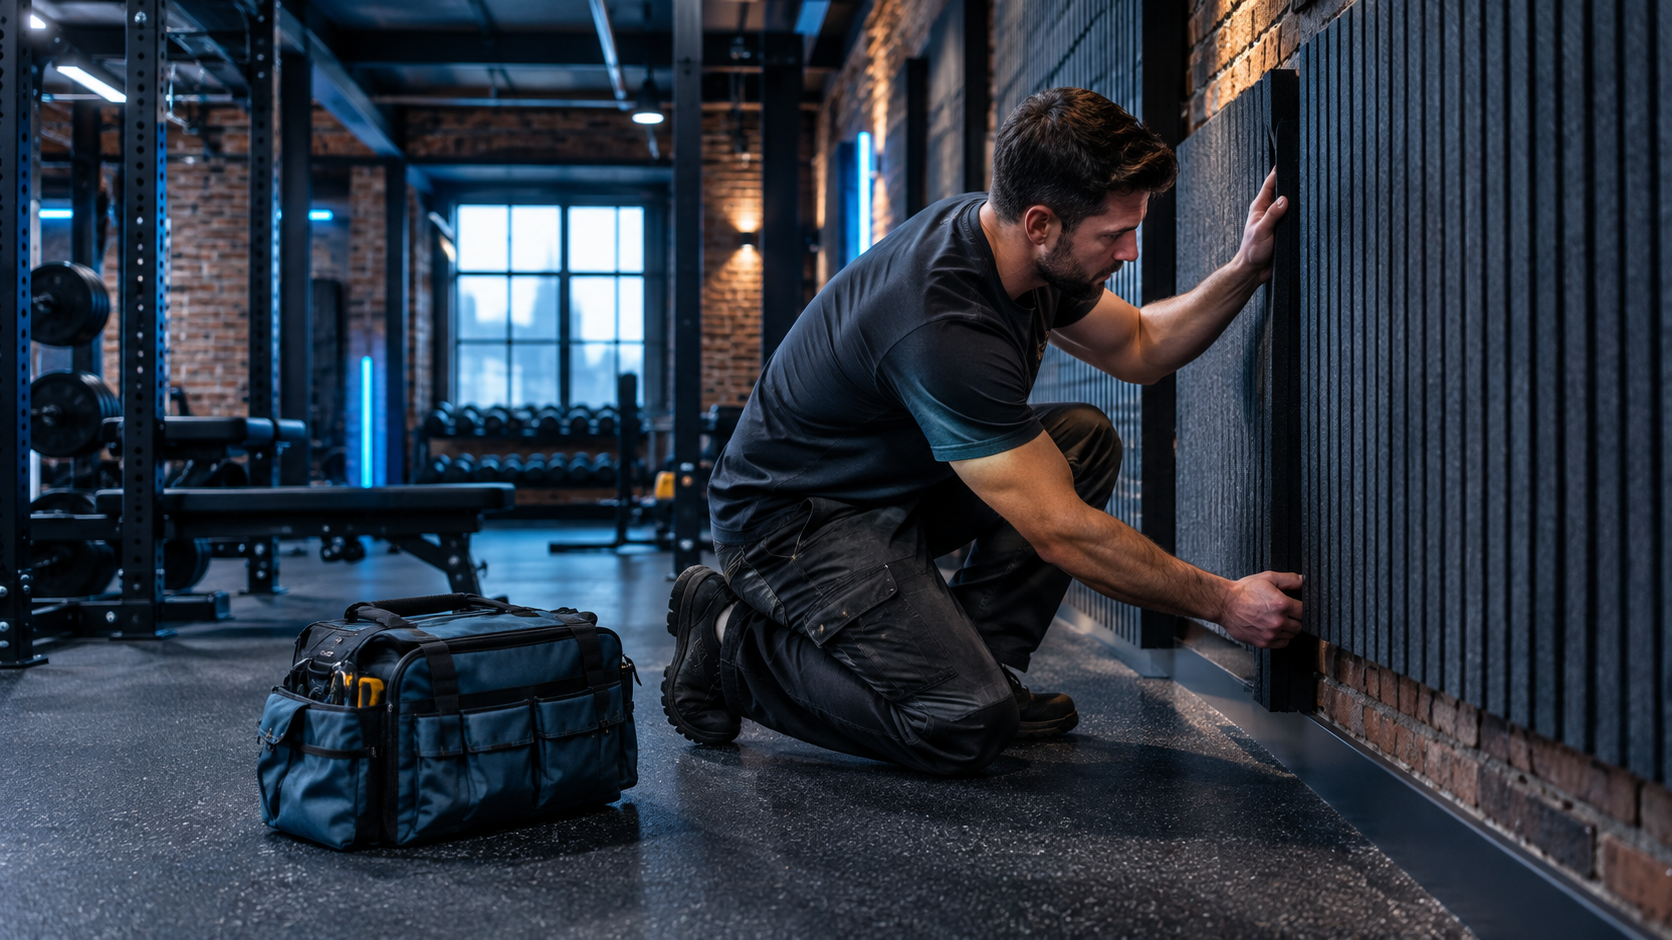

DIY Gym Flooring Installation UK: Step-by-Step Guide for Home Gyms
According to Sport England’s Active Lives Adult Survey 2023, 26% of UK adults now exercise at home at least once a week. This has led to a sharp rise in demand for reliable methods for DIY gym flooring installation across the UK.
Many home gym owners and personal trainers assume the job requires specialist contractors. Yet, with our premium interlocking tiles from trusted European brands, the process becomes straightforward when you follow a clear plan.
We created this guide to remove the guesswork, giving you the confidence to achieve a durable, safe finish without unnecessary tools or steps.
Why Proper Preparation Matters Before You Install Gym Mats
Many UK homes feature concrete garages or timber floors that can hide moisture or uneven patches. Skipping these crucial checks often leads to movement or premature wear later, compromising your new gym floor's lifespan.
First, clear the area completely. Then, thoroughly test the subfloor with a moisture meter, applying a damp-proof membrane before any further work if readings exceed safe levels.
Next, measure the space accurately – twice. Note any awkward corners or pipe positions, as this precision prevents wasted material and ensures your final surface lies perfectly flat.
How to Lay Rubber Gym Flooring with Minimal Tools
Our interlocking tiles are engineered for easy installation, meaning you can complete most home gym floor fitting projects with just a sharp utility knife, a straight edge, and a tape measure.
Begin in one corner and work outward, pressing each tile firmly into place. The interlocking edges simply lock together, requiring no adhesive on most solid subfloors.
When you reach the edges, score the tile several times with your knife before snapping it cleanly. This technique not only reduces effort but also produces neat cuts, even in tight spaces.
For timber subfloors or areas with light movement, a few strips of double-sided tape around the perimeter will keep everything stable while still allowing for future removal if needed.
Safe Cutting and Handling Tips for DIY Gym Tiles
Heavy rubber requires sensible handling, so always lift with a partner when moving larger tiles and wear gloves to protect your hands.
Work in a well-lit space and always keep your knife blade sharp. Multiple light passes produce cleaner edges than forcing a single deep cut.
If you need to work around pipes or fixed equipment, create a paper template first. This simple step avoids costly mistakes and ensures your finished surface looks professional.
Final Checks for a Long-Lasting Result
Once all tiles are laid, walk the entire floor slowly, pressing firmly on each joint. Any slight movement can easily be corrected by lifting and reseating the tile.
Sweep or vacuum thoroughly to remove any dust. Then, allow 24 hours before heavy use; this settling period helps the surface bed in fully.
Regular checks every few months will keep your floor in top condition and extend its life, providing continued safety and comfort during workouts.
Home gym owners across the UK – from London to Manchester – have successfully transformed their spaces using these methods and our home gym flooring range. This approach works equally well for small personal training studios preferring a cost-effective DIY route.
You can see real examples of completed projects on our store pages, where customers share just how straightforward the process proved once they followed our structured preparation steps.
Ready to Get Started?
Transform your workout space with confidence and enjoy the safety and performance our flooring delivers. Get Expert Advice today to help choose the right tiles for your project.
The Gym Flooring Hub